Make A Beer Can Ashtray Using Only Scissors (And A Beer Can)
on Jan 14, 2019 • Updated Mar 30, 2023
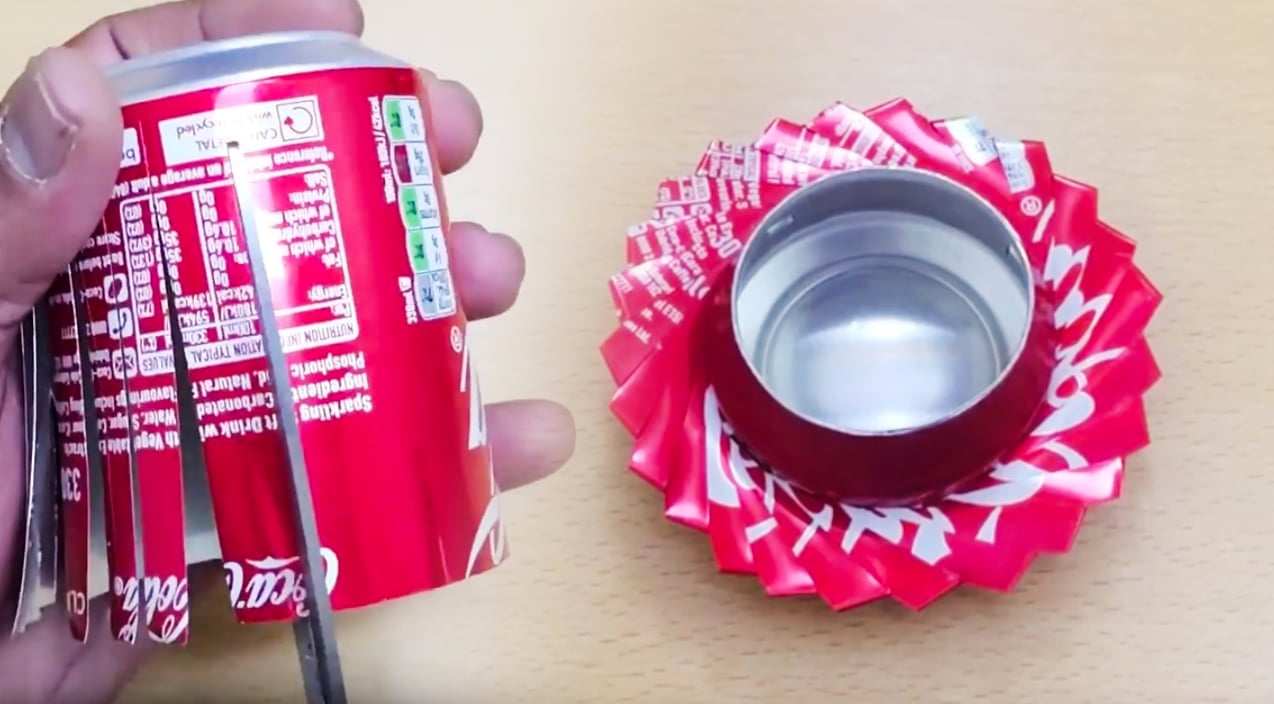
With just a few simple steps, you can make an ashtray that looks much nicer than many you will find at the local supermarket or drug store – and it’s free!
If you’ve ever used a beer can as an ashtray, you know how often you’ll have the two in conjunction with one another. Realizing this, one enterprising do-it-yourselfer crafted a simple way to take an old discarded aluminum can and turn it into a good looking ashtray.
First, you want to make sure you start with a clean and dry aluminum can. Next, use either very sharp scissors or razor blade / X-Acto Knife to cut about 1.5″ of the top of the can off. Keep the top of the can for later – you’ll need it!
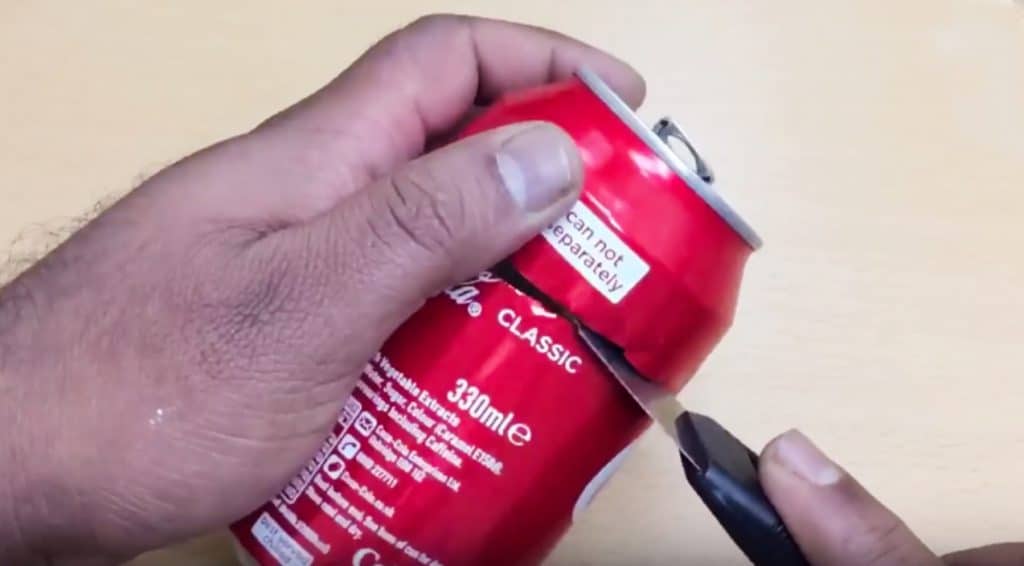
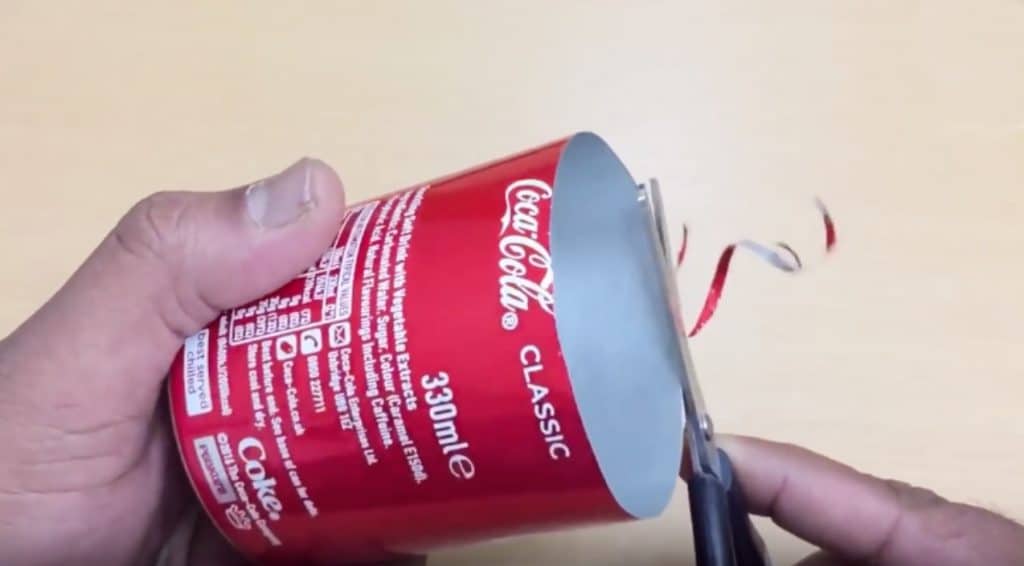
Next, take your scissors and slowly trim off the very rough edge left on the can by the initial cut. Do this very carefully as you want to make it a smooth cut.
Warning: you should use caution handling the cut aluminum can as it may have sharp edges that could cut or scratch you. It is recommended to use gloves when creating this fun DIY project.
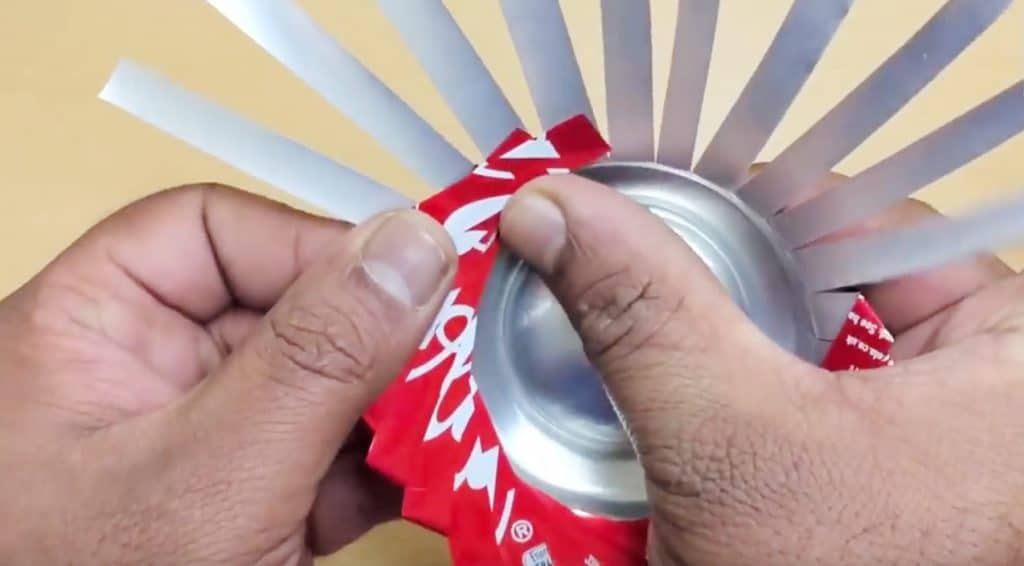
Now it’s time to turn the can on its side and cut even strips down to where the base meets the wall. You should make your strips about 1/4″ wide.
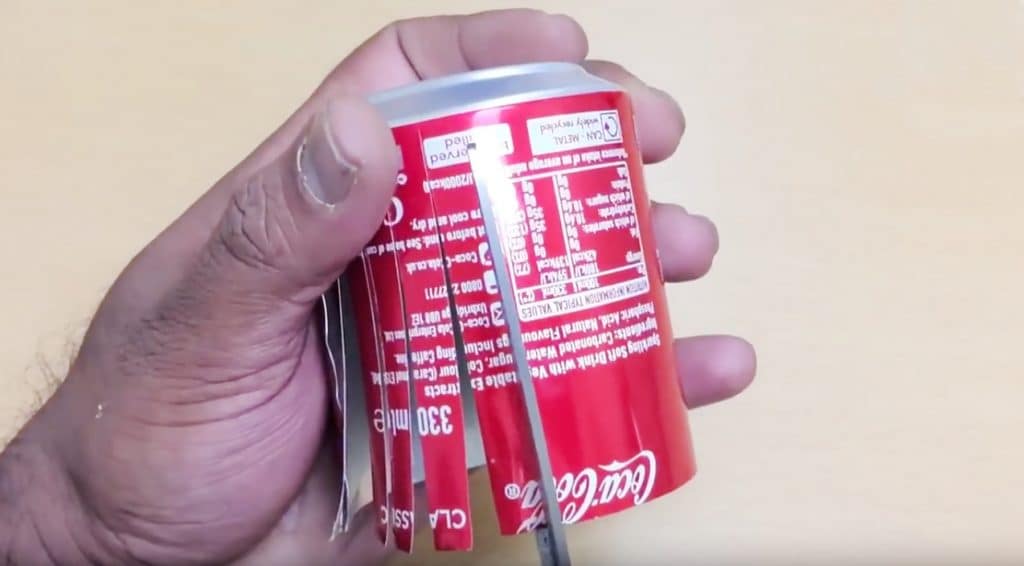
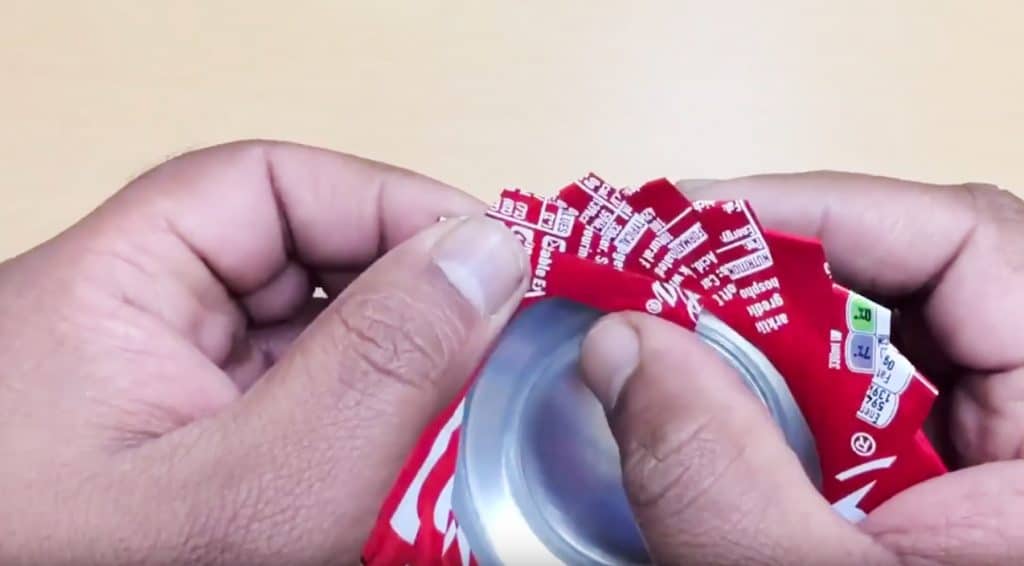
Once all the strips are cut, you will want to fold them outward like a fan and then fold them in at an angle so that they line up along the line of the can’s bottom. Do this for each of the strips and make sure to crease the fold tightly so that the strips stay in their position.
Once all of the flaps are bent over one another, it should look symmetrical and nearly-complete. See the below images for reference.
Pick up your scissors and trim the rough-cut edge of the leftover top of the can so you can finish this ashtray off right!
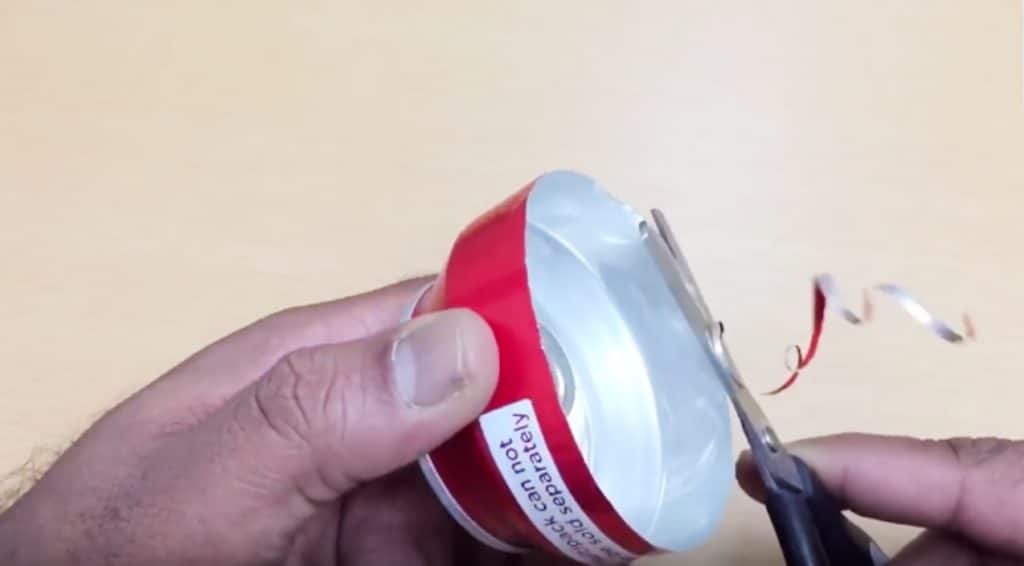
Cut four shallow tabs out of the edge of the newly-trimmed edge as seen in the video below. Then you’ll trim the top of the can off and fit this into the ashtray you’ve made for a complete product.
This final step can be viewed from 3:30 – 4:30 in the video below!
Check it out and let us know how yours turns out in the comments! We’d love to see your pictures!


